> ## Documentation Index
> Fetch the complete documentation index at: https://agi-docs.pandas-ai.com/llms.txt
> Use this file to discover all available pages before exploring further.
# Chat Interface
> Build your own AI assistant with a real-time streaming interface
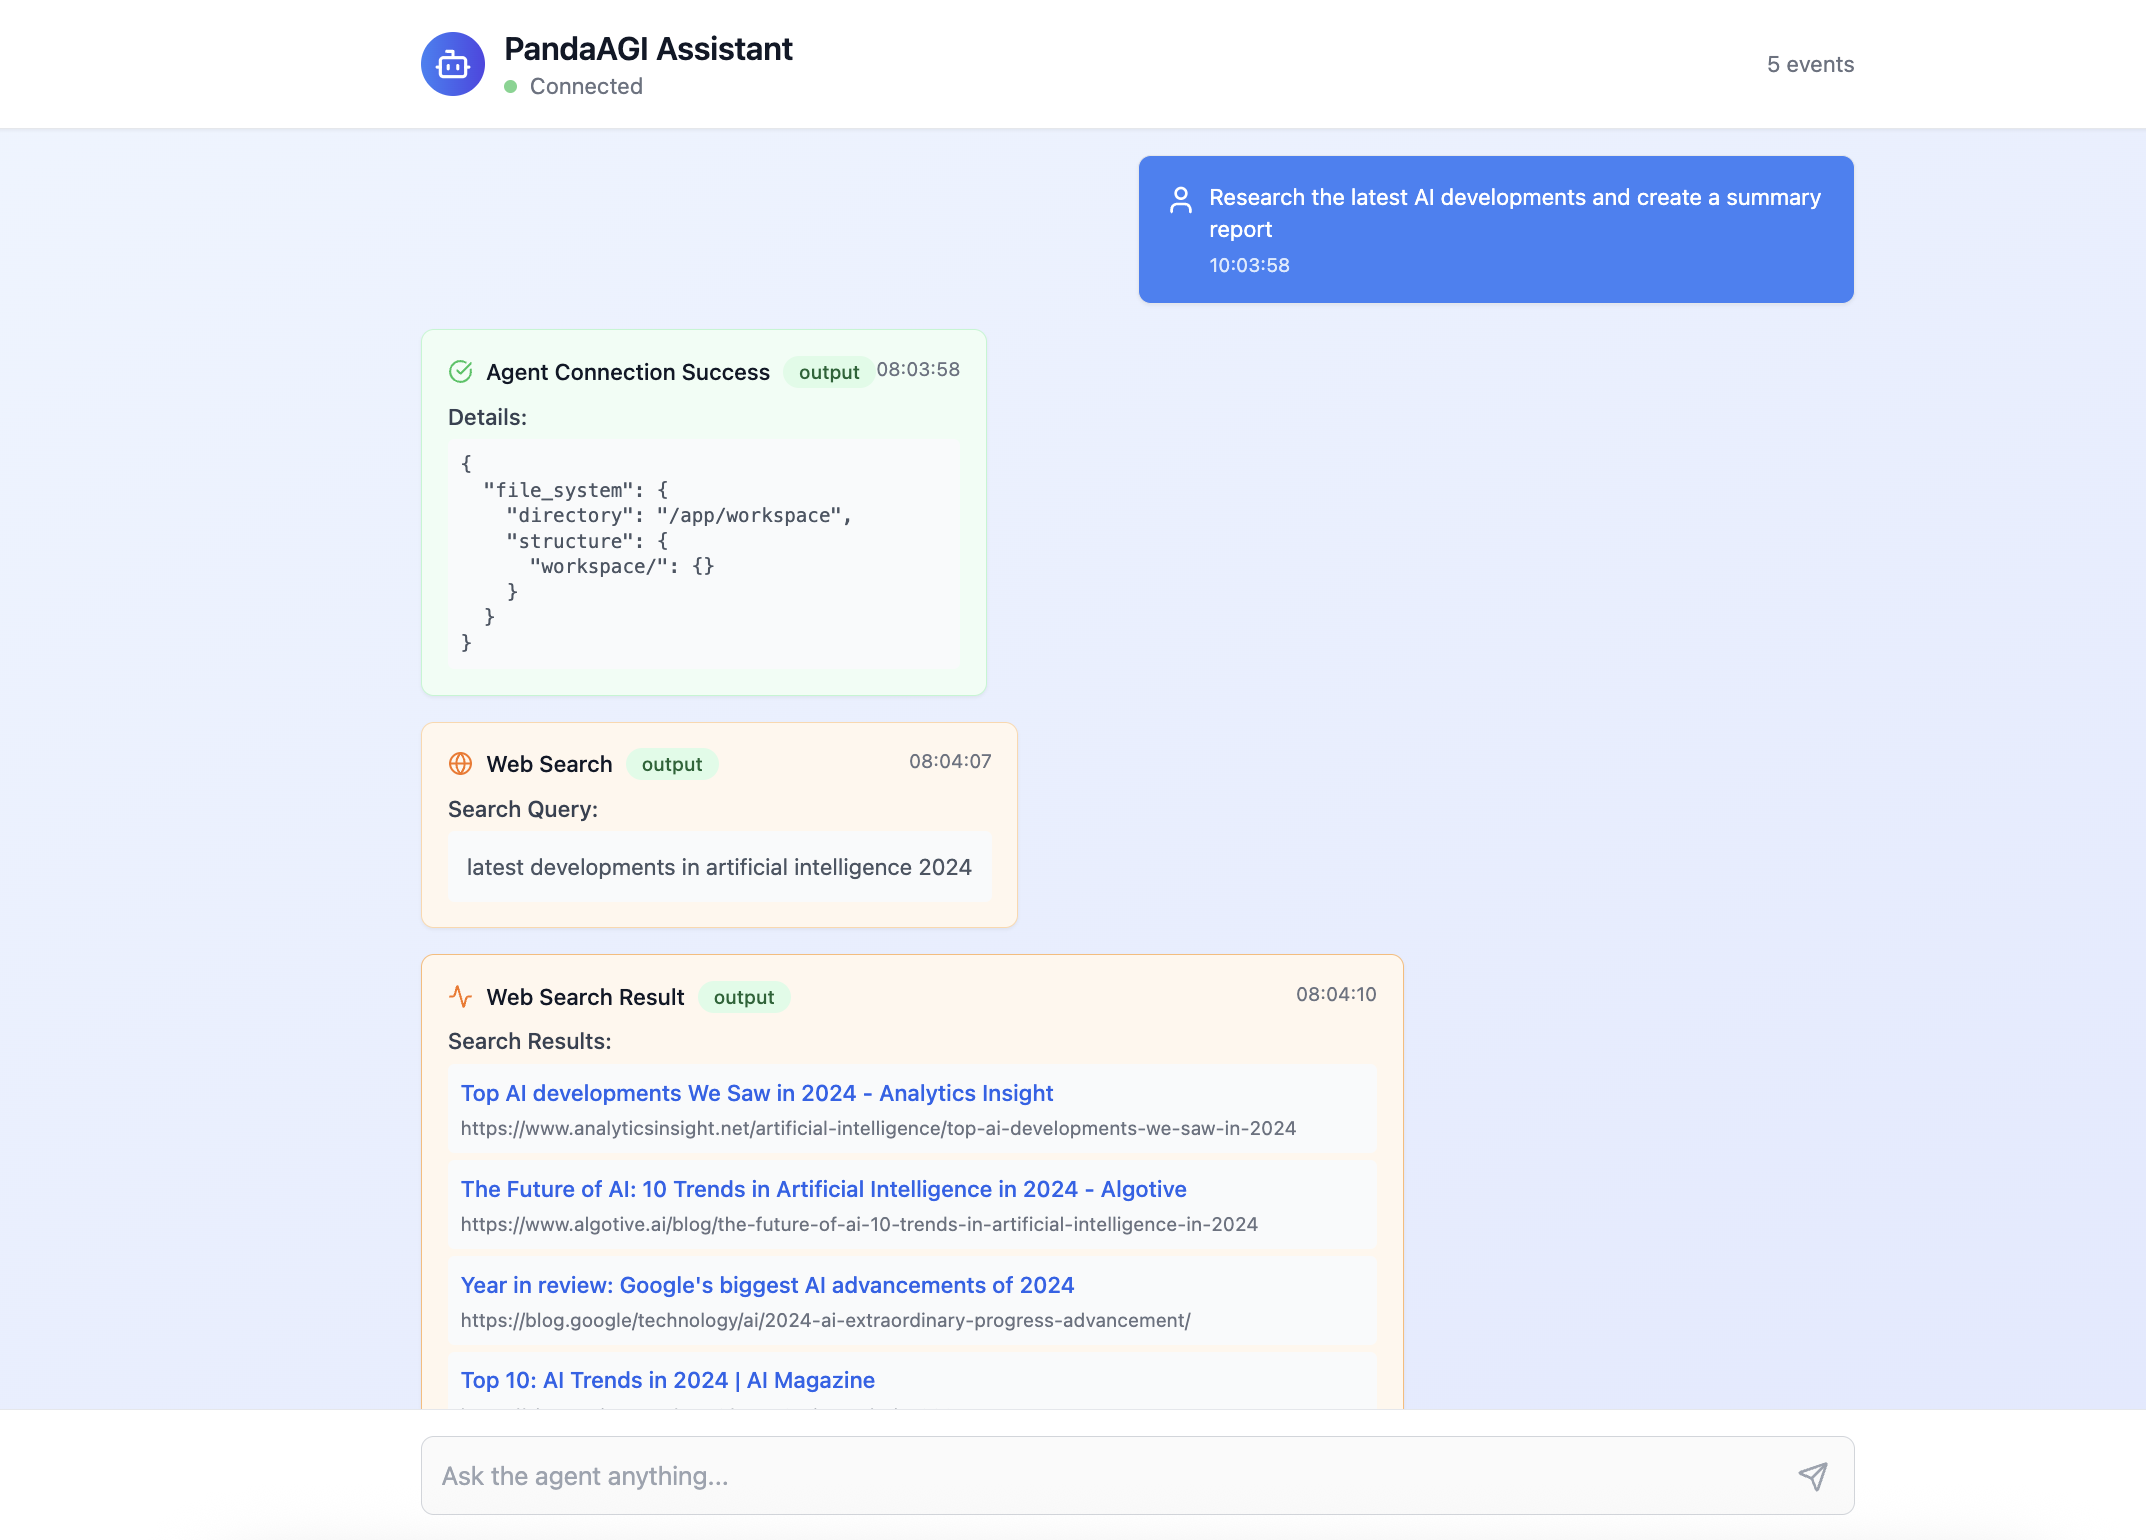
Create your own version of powerful AI assistants like ManusAI, Lovable, Cursor, Windsurf, etc... with plugins - all using PandaAGI's ready-made chat interface.
 ## Why Build a Chat Interface?
A chat interface is the most intuitive way for users to interact with AI agents. The PandaAGI chat interface provides:
See agent responses, thinking, and actions as they happen
Watch as the agent uses tools to solve complex problems
Maintain context across multiple interactions
Works seamlessly on desktop and mobile devices
## Ready-to-use Chat Interface
PandaAGI includes a production-ready chat interface in the examples folder that you can deploy immediately.
```bash
git clone https://github.com/sinaptik-ai/panda-agi.git
cd panda-agi
```
```bash
cd examples/ui
echo "PANDA_AGI_KEY=your-api-key-here" > .env
```
```bash
# For production (uses pre-built images)
./start.sh
# For local development (will build the image based on the new changes)
# ./start.sh --dev
```
This command will:
* ✅ Check Docker requirements
* 🛑 Stop any existing containers
* 🔄 Pull pre-built production images (default)
* 🔨 Build and start services (in development mode with --dev)
* 🔍 Perform health checks
* 📊 Display service status and URLs
**Pro Tip:** Use `--build` to force rebuild images when needed.
Once running, access:
* **Frontend**: [http://localhost:3000](http://localhost:3000)
* **Backend API**: [http://localhost:8001](http://localhost:8001)
```bash
cd examples/ui
./start.sh --dev
```
This will build and run the application locally with hot-reloading.
```bash
# Backend
cd examples/ui/backend
poetry install
python main.py
# Frontend (in a new terminal)
cd examples/ui/frontend
yarn install
yarn start
```
Use this approach if you need to run services separately.
## Next Steps
Return to the quickstart guide to explore more capabilities
Try the command-line interface for terminal-based interactions
Learn more about PandaAGI's event system for real-time interactions
## Why Build a Chat Interface?
A chat interface is the most intuitive way for users to interact with AI agents. The PandaAGI chat interface provides:
See agent responses, thinking, and actions as they happen
Watch as the agent uses tools to solve complex problems
Maintain context across multiple interactions
Works seamlessly on desktop and mobile devices
## Ready-to-use Chat Interface
PandaAGI includes a production-ready chat interface in the examples folder that you can deploy immediately.
```bash
git clone https://github.com/sinaptik-ai/panda-agi.git
cd panda-agi
```
```bash
cd examples/ui
echo "PANDA_AGI_KEY=your-api-key-here" > .env
```
```bash
# For production (uses pre-built images)
./start.sh
# For local development (will build the image based on the new changes)
# ./start.sh --dev
```
This command will:
* ✅ Check Docker requirements
* 🛑 Stop any existing containers
* 🔄 Pull pre-built production images (default)
* 🔨 Build and start services (in development mode with --dev)
* 🔍 Perform health checks
* 📊 Display service status and URLs
**Pro Tip:** Use `--build` to force rebuild images when needed.
Once running, access:
* **Frontend**: [http://localhost:3000](http://localhost:3000)
* **Backend API**: [http://localhost:8001](http://localhost:8001)
```bash
cd examples/ui
./start.sh --dev
```
This will build and run the application locally with hot-reloading.
```bash
# Backend
cd examples/ui/backend
poetry install
python main.py
# Frontend (in a new terminal)
cd examples/ui/frontend
yarn install
yarn start
```
Use this approach if you need to run services separately.
## Next Steps
Return to the quickstart guide to explore more capabilities
Try the command-line interface for terminal-based interactions
Learn more about PandaAGI's event system for real-time interactions